Host Nuxt 3 SSR app on AWS Amplify

Learn how to deploy your Nuxt SSR web application on AWS Amplify Hosting with our step-by-step guide.
Nitro,open engine powering Nuxt has recently incorporated support for AWS Amplify as a zero-configuration provider. This signifies a pivotal stride, enabling the seamless deployment of Nuxt 3 applications on AWS Amplify sans the encumbrance of supplementary configurations. Nitro's inherent acuity during deployment discerns the environment effortlessly, rendering the process frictionless. The nitro preset to support AWS Amplify hosting is called aws_amplify.
AWS Amplify released a new deployment specification which defines convention-based primitives for Compute, Image optimization, Routing rules, and Static assets. The key features include:
- Static Assets – Furnishing frameworks with the prowess to host static files, accentuating versatility.
- Compute – Endowing frameworks with the capability to orchestrate a Node.js HTTP server, orchestrating on port 3000.
- Image Optimization – Bestowing frameworks with a runtime service for judicious image optimization.
- Routing Rules – Empowering frameworks with a mechanism for mapping incoming request paths unto bespoke targets.
In this blog, we will review how Nitro create all these for a Nuxt 3 web application and host it as SSR on AWS Amplify hosting.
Create new Nuxt 3 project for AWS Amplify Hosting
We’ll create a new Nuxt app using nuxi cli tool :
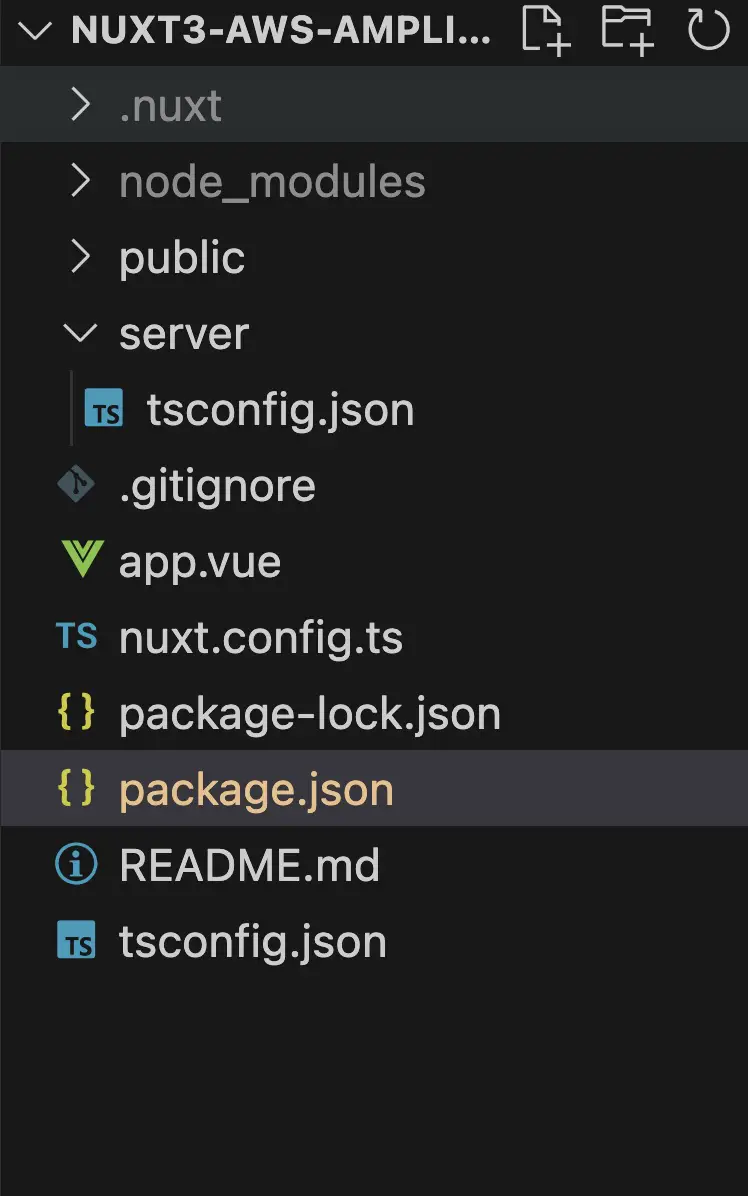
npx nuxi@latest initEnter the details in the prompt and we are using npm as the package manager. Once the process is completed it should create a new project with below folder structure,
Build Nuxt project with AWs Amplify preset
The Nitro synergy with AWS Amplify manifests as a zero-configuration provider, alleviating the need for intricate setup when deploying through AWS Amplify. Prior to delving into deployment, let's fortify the project by initiating the build process, invoking the Nitro preset with the nomenclature aws_amplify. Subsequently, we scrutinize the artifacts within the newly forged .amplify-hosting directory.
Execute the following command:
NITRO_PRESET=aws_amplify nuxt buildThis will create the folder .amplify-hosting with following artifacts in it.
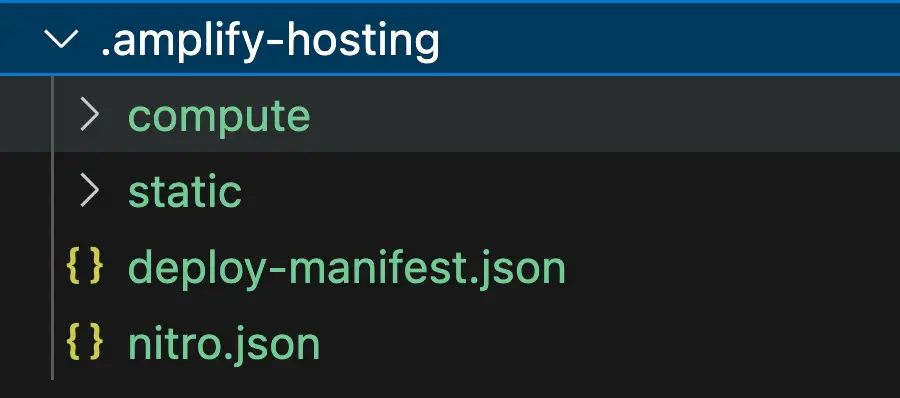
At the epicenter of this deployment orchestration is the deploy-manifest.json. This JSON file encapsulates paramount deployment specifications for AWS Amplify, with key attributes such as routes, computeResources, and framework. Below is the deploy manifest created as part of the buildprocess,
{
  "version": 1,
  "routes": [
    {
      "path": "/_nuxt/builds/meta/*",
      "target": {
        "kind": "Static",
        "cacheControl": "public, max-age=31536000, immutable"
      }
    },
    {
      "path": "/_nuxt/builds/*",
      "target": {
        "kind": "Static",
        "cacheControl": "public, max-age=1, immutable"
      }
    },
    {
      "path": "/_nuxt/*",
      "target": {
        "kind": "Static",
        "cacheControl": "public, max-age=31536000, immutable"
      }
    },
    {
      "path": "/*.*",
      "target": {
        "kind": "Static"
      },
      "fallback": {
        "kind": "Compute",
        "src": "default"
      }
    },
    {
      "path": "/*",
      "target": {
        "kind": "Compute",
        "src": "default"
      }
    }
  ],
  "computeResources": [
    {
      "name": "default",
      "entrypoint": "server.js",
      "runtime": "nodejs18.x"
    }
  ],
  "framework": {
    "name": "nuxt",
    "version": "3.8.2"
  }
}
Incase we need to modify any of these, it should be done as part of the nuxt.config,
export default defineNuxtConfig({
  nitro: {
    awsAmplify: {
       catchAllStaticFallback: true,
       imageOptimization: { "/_image", cacheControl: "public, max-age=3600, immutable" },
       imageSettings: { ... },
    }
  }
AWS Amplify Hosting for Nuxt 3 WebApp
Lets quickly deploy this app from git to AWS Amplify and see how the zero config provider works. We just need to check-in this project to git and connect to AWS amplify in the AWS web console to deploy as detailed in the below steps,
- Login to AWS webconsole and select AWS Amplify under the Services
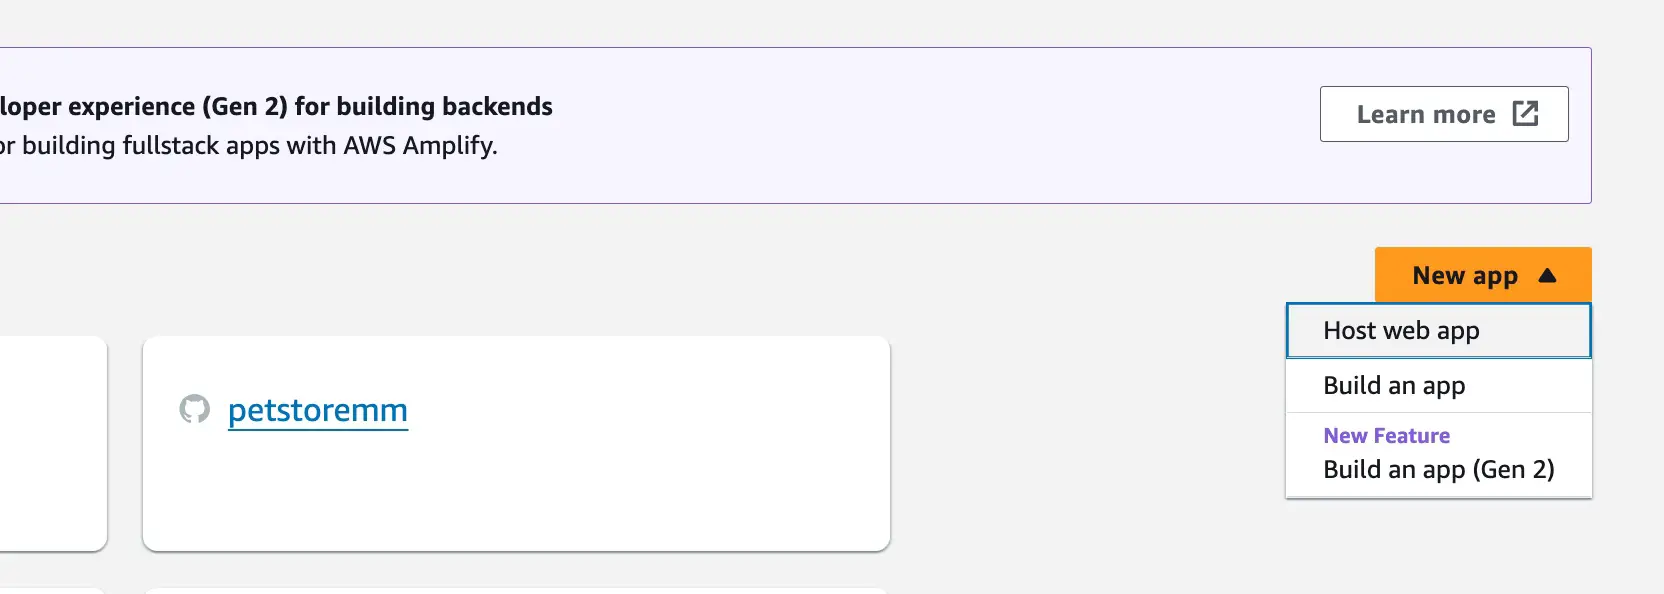
- Click on New App and select Host a new web app,
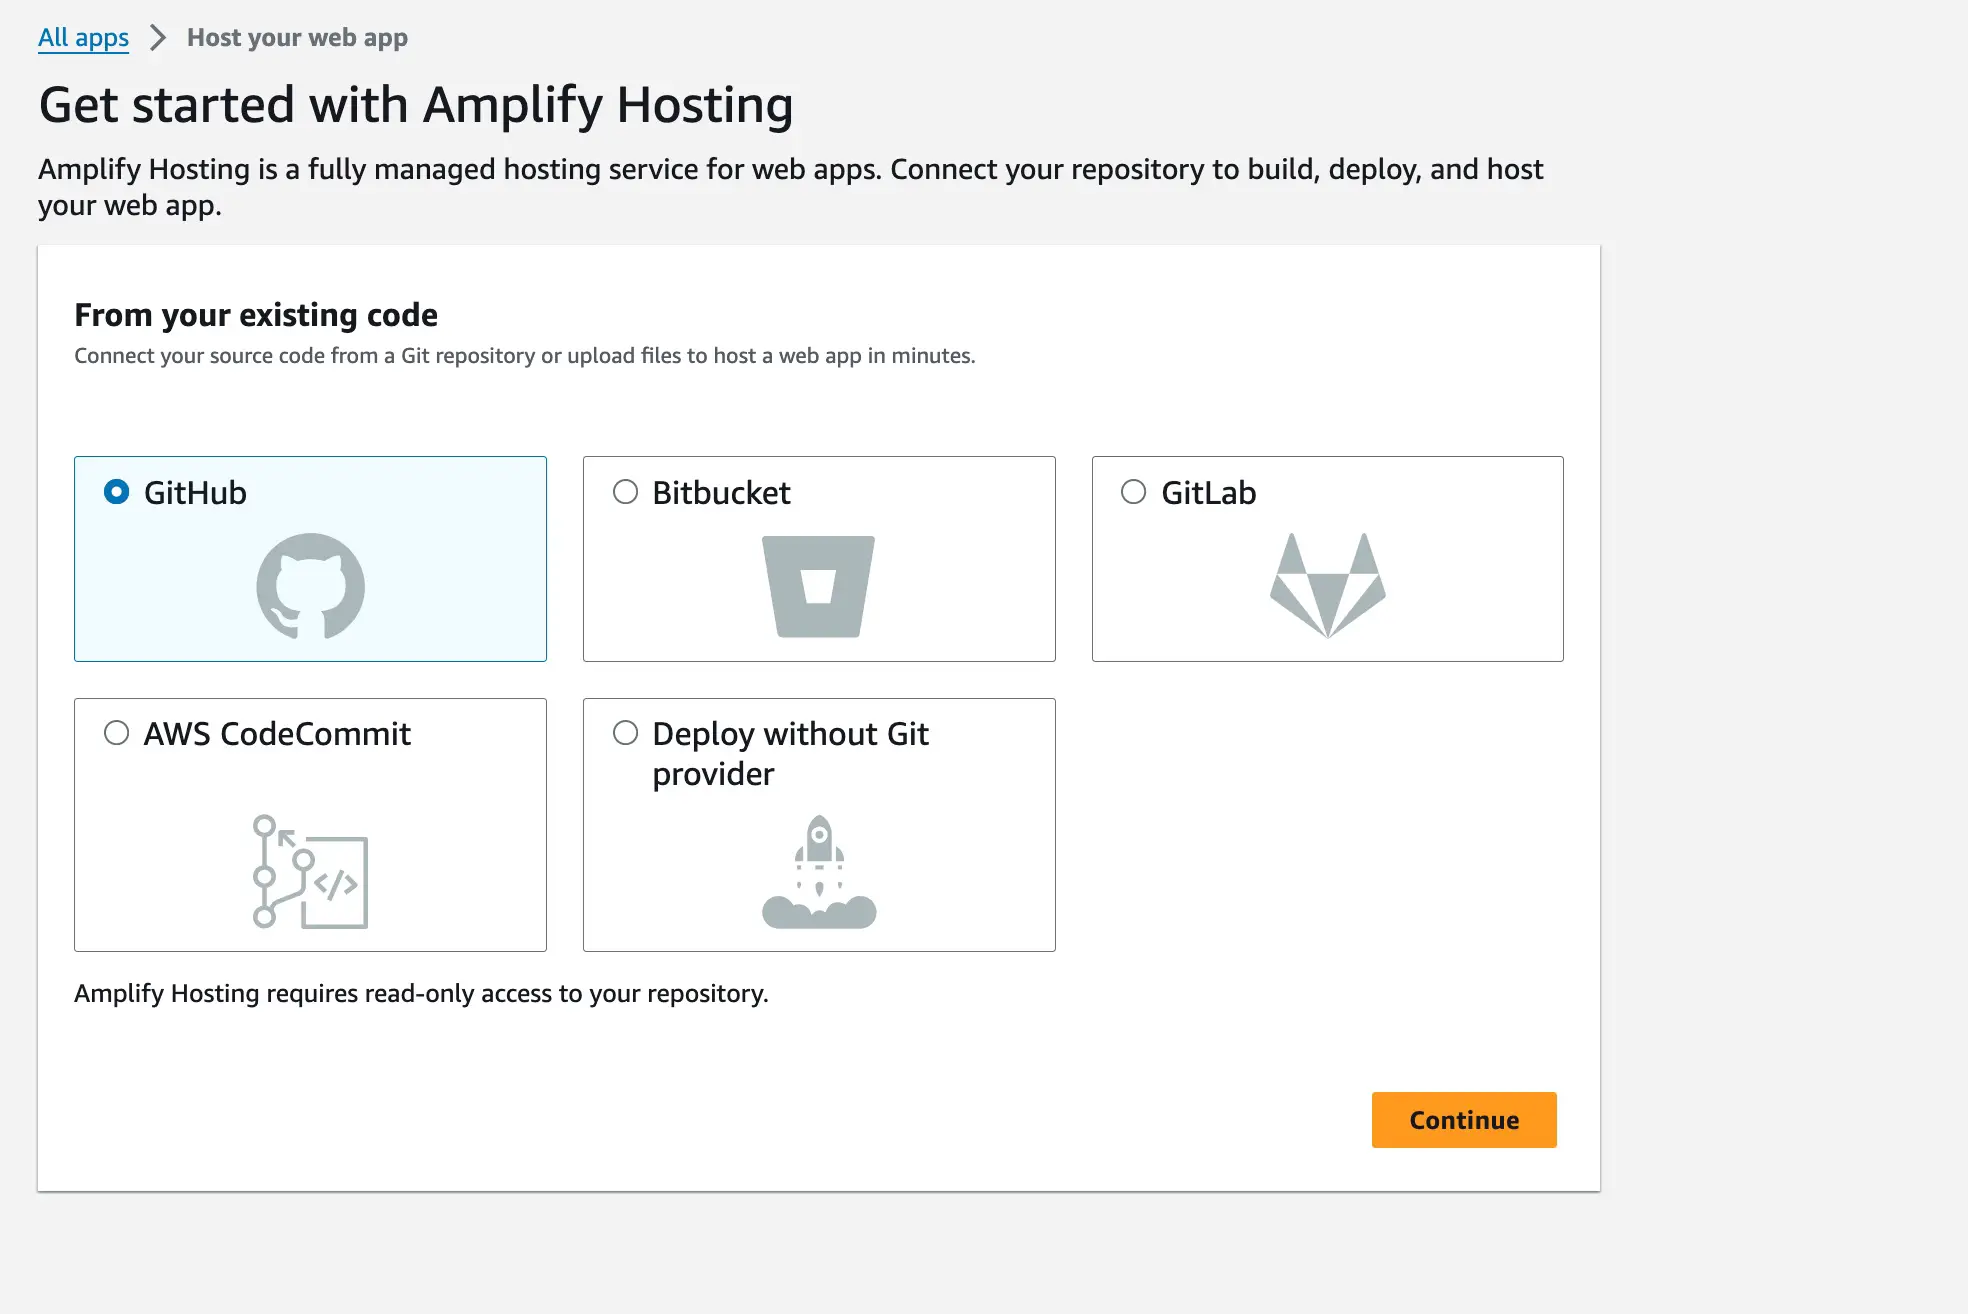
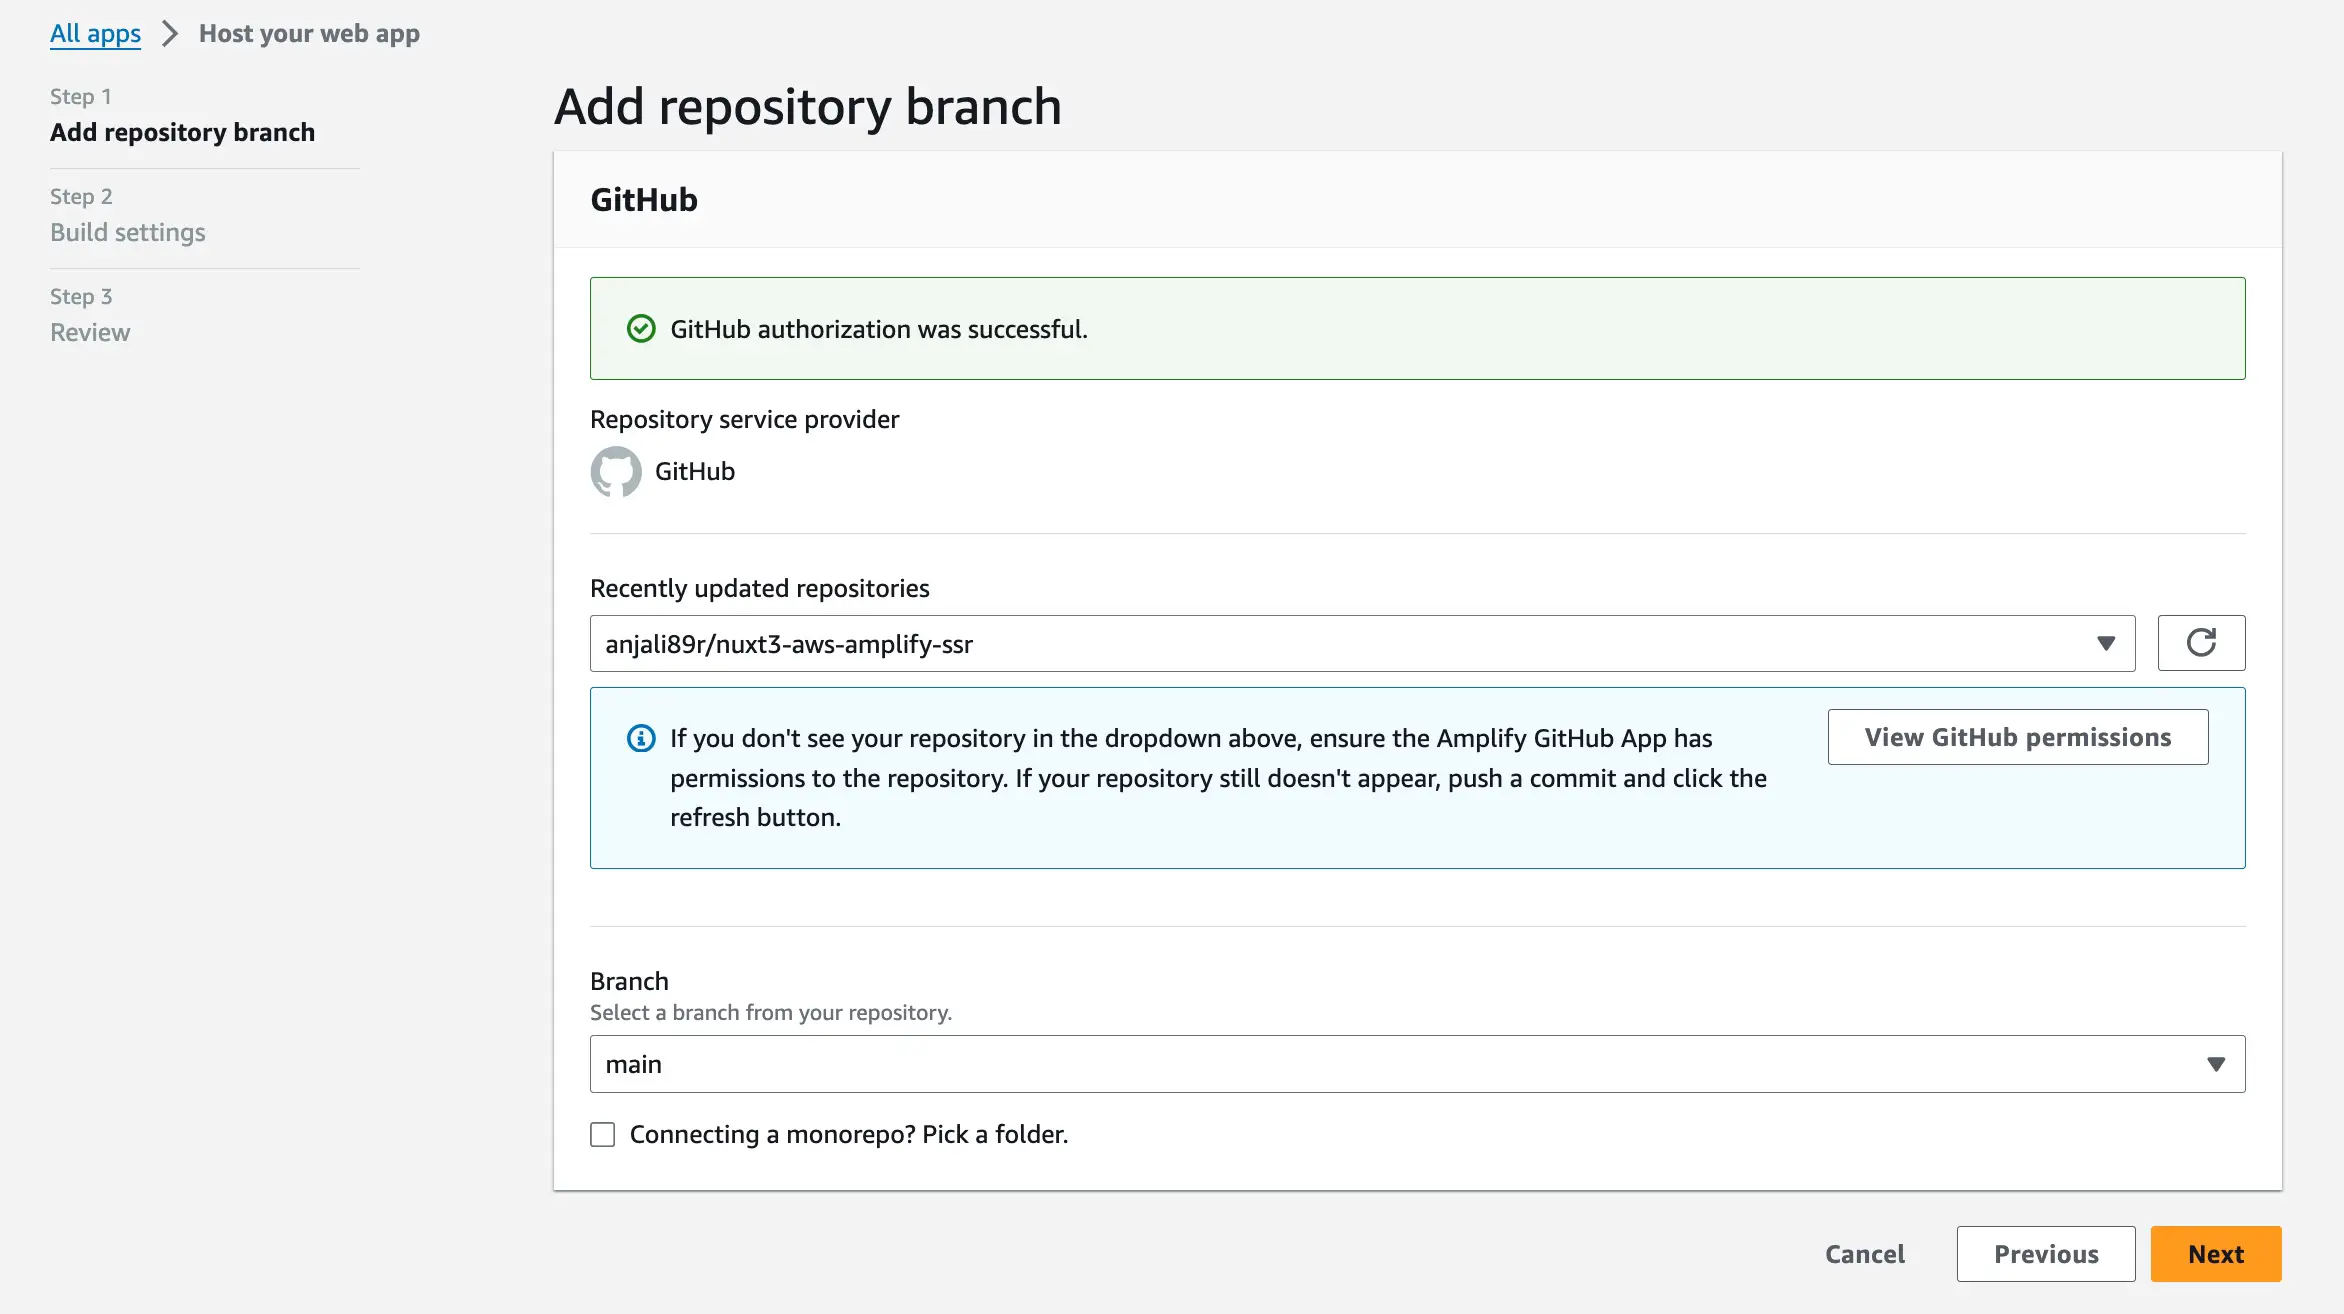
- Select Github as provider and click to authorize and install the AWS Amplify on the repo
- Add the repositry branch for the repo and click Next
- In the Build settings page review the
amplify.yml, these are the steps to be preformed for the build process and I'm going with deploy. Incase we need to pass environment variables or public api end point you can modify and add it here by click on the Edit button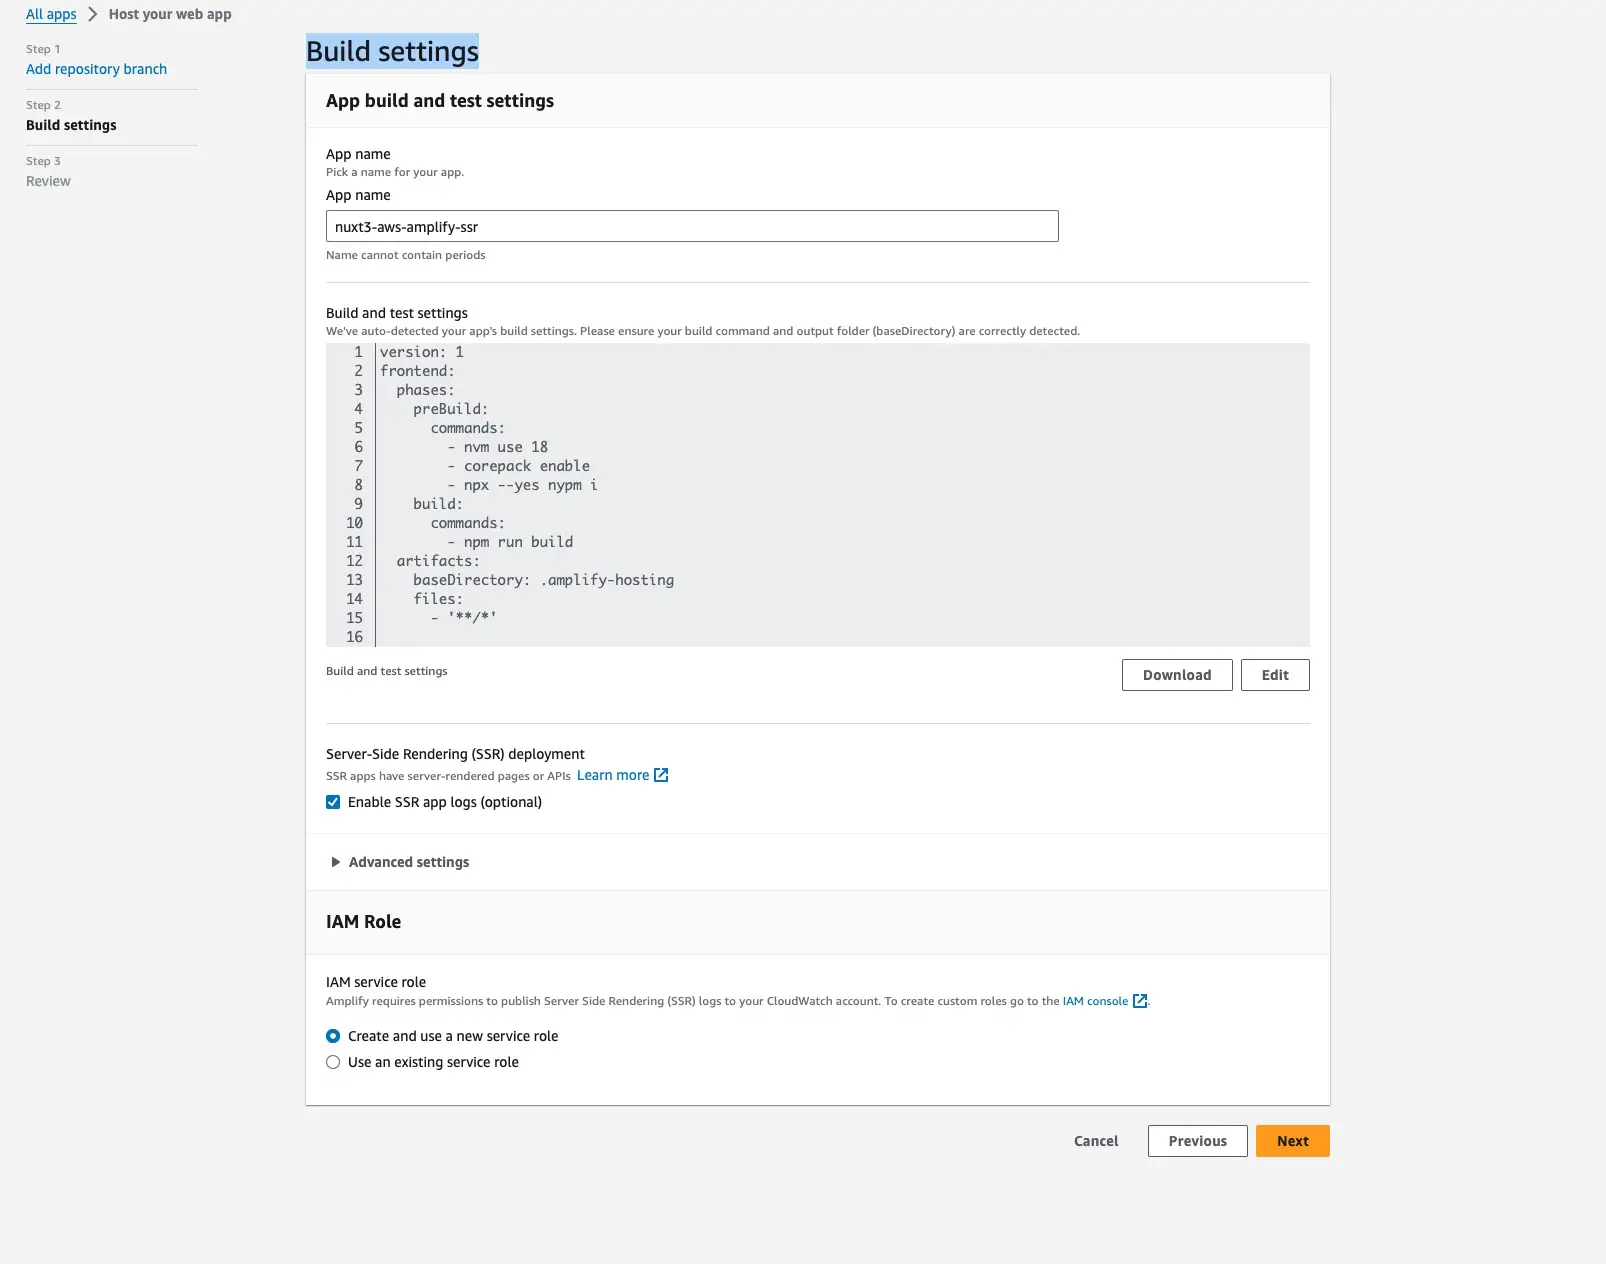
- Select create a new IAM role option and click on the Next button
- Review the detail and click on the
Save and Deploy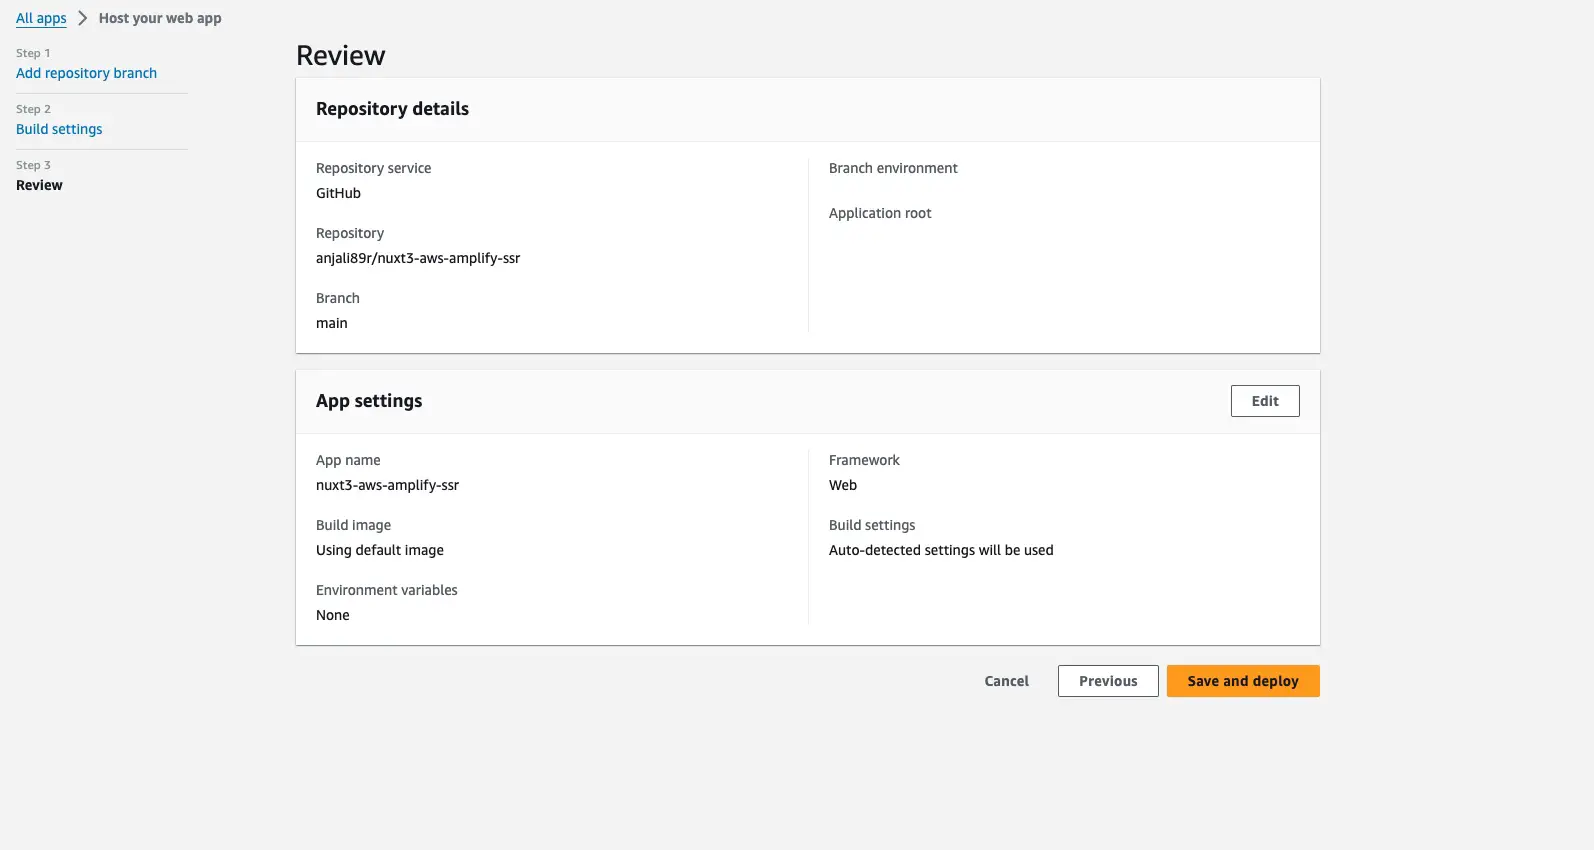
- Once the deployment is complete, it should generate an amplify url where the app is hosted and it should show this confirmation page,
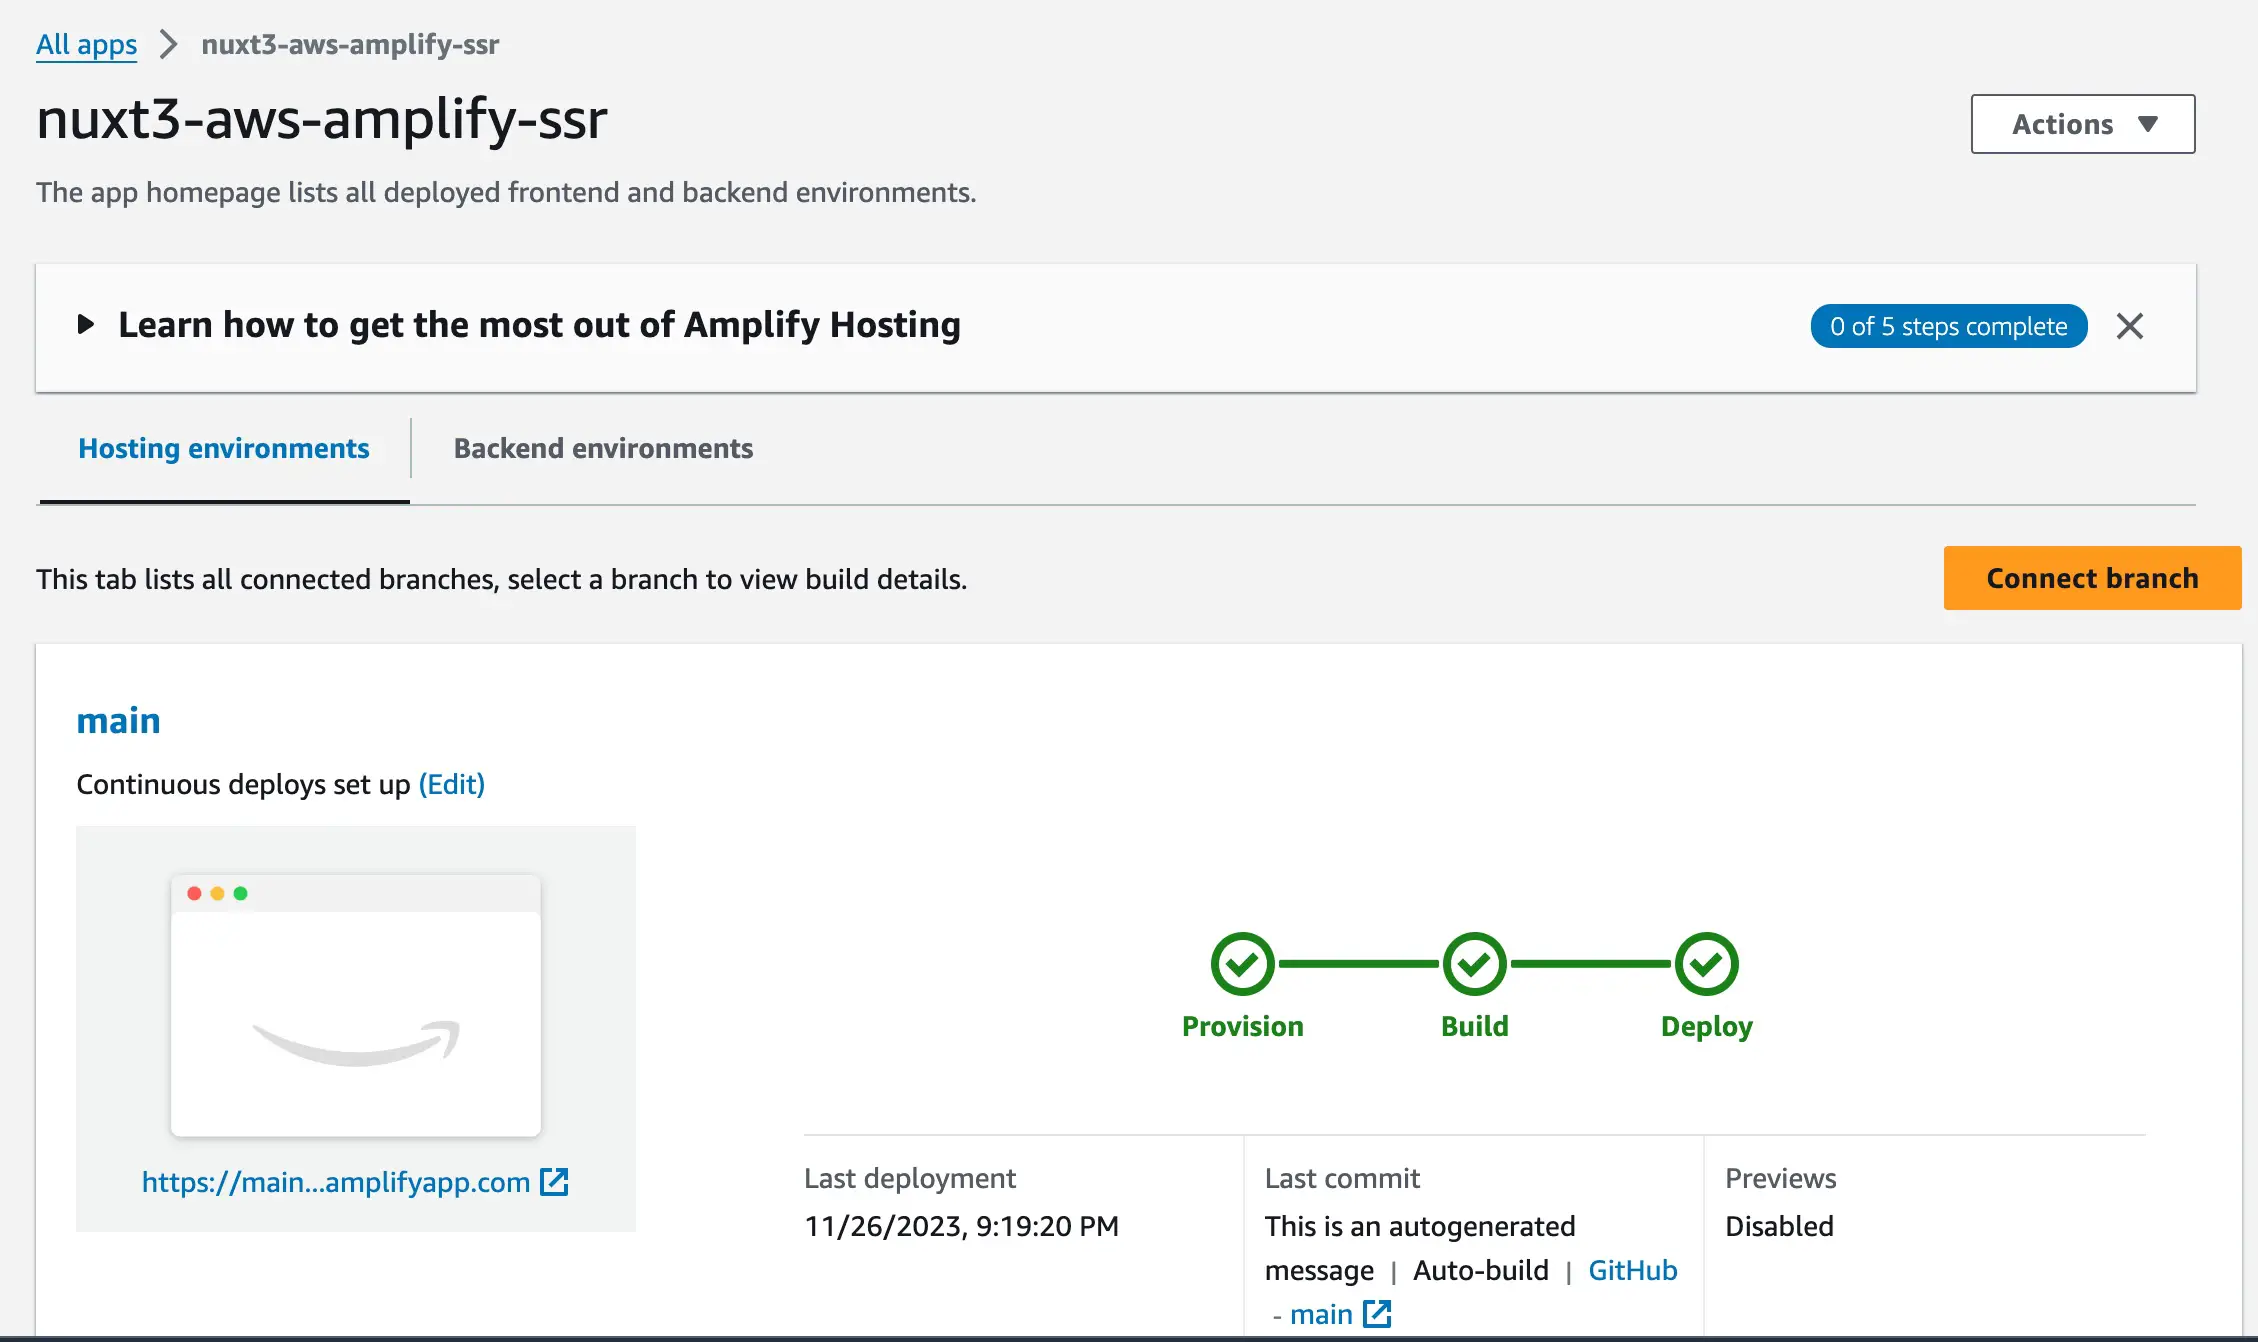
Nuxt 3 and AWS Amplify Repo
The sample repo used for this blog which is deployed to AWS Amplify can he accessed here(https://github.com/anjali89r/nuxt3-aws-amplify-ssr).
